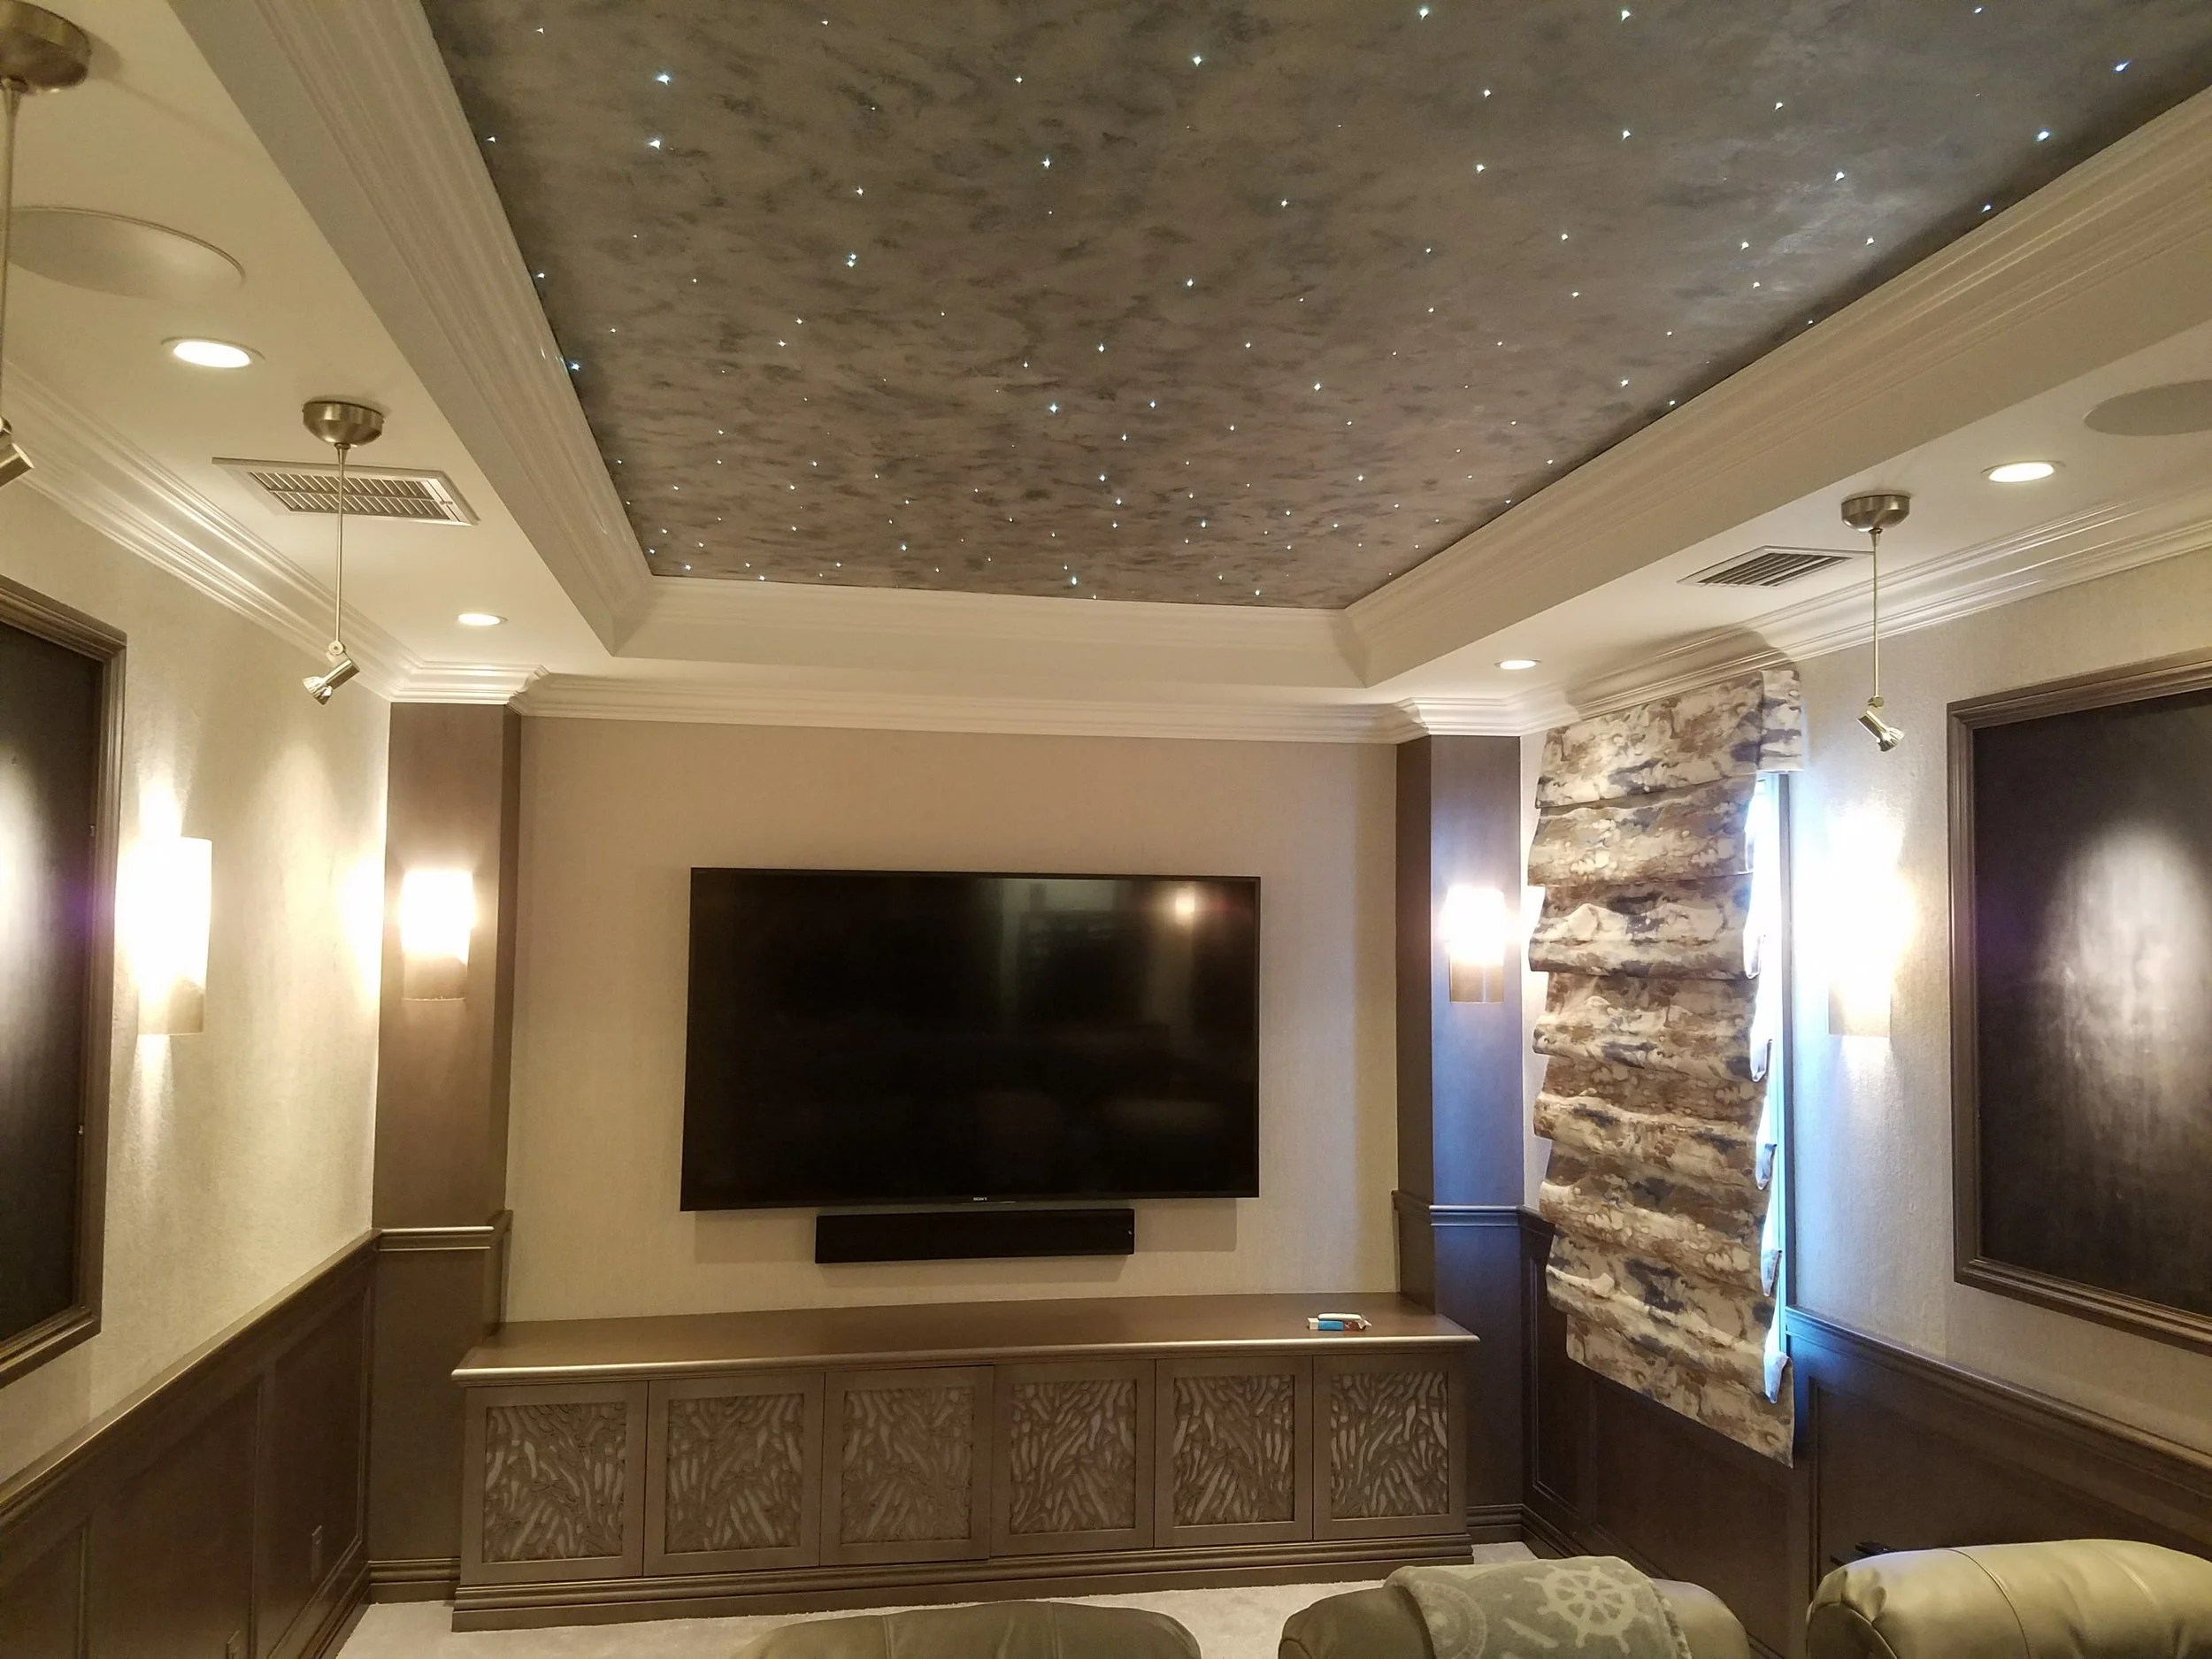
Professional Fiber Optic Starlight Guide: Tongue & Groove Wood Ceilings
Installing a fiber optic star system into a custom tongue-and-groove (T&G) ceiling creates a striking architectural feature. Because T&G wood planks are installed board by board, fiber placement happens progressively alongside the carpentry.
Phase 1: Planning & System Setup
Determine Fiber Density: Calculate strand count based on a standard density of 3 stars per square foot. A 500-strand kit covers approximately 167 sq. ft.
Organize Strands: Untangle the fiber optic bundle and pre-sort strands into manageable sub-bundles using zip ties.
Establish Management Route: Secure the fiber management system and run zip-tie mounts along the ceiling framing.
Mount Light Engine: Position the light source within 40 feet of the farthest star location. Attach the fiber harness to the unit and power it on during the run so active light guides strand placement through the wire management track.
Phase 2: Framing, Access & GC Coordination
Insulation & Access: The General Contractor (GC) installs insulation above the ceiling as needed and provides access hatches behind upper-floor speakers for light engine service. Attic-level light engines are positioned in the foamed attic space.
Carpentry Sequencing: The carpenter installs tongue-and-groove ceiling boards in small sections (3–4 boards at a time), allowing immediate access to drill, thread, and secure fibers before nailing the next row of wood.

Phase 3: Progressive T&G Board Installation
Board-by-Board Drilling: As each section of tongue and groove wood is secured, use a pre-cut cardboard template to keep spacing natural. Drill 3 to 4 micro-holes per template footprint directly through the wood.
Caution: Do not exceed 4 holes per square foot to prevent exposing upper ceiling structures or roof lines.
Feed & Glue: Feed fiber strands down through the drilled holes in the wood planks. Apply Elmer's All-Purpose White Glue into each hole on the backside/face to lock the fibers into place.
Rough Extension Cut: Trim each fiber so roughly 12 inches projects out from the wood surface. This protective tail prevents strands from slipping through or being damaged during ongoing carpentry. Let the glue dry fully.
Phase 4: Wood Finishing & Final Cut
Stain, Seal, or Touch-Up Paint (Crucial Step): The GC or painter completes all wood staining, clear-coating, or paint touch-ups while the 12-inch fiber ends are still sticking out.
CRITICAL WARNING: All wood finishing and painting MUST be completed before the final flush trim. Applying paint or clear coat over flush-cut fibers seals the optical tips, permanently blocking light and ruining the star effect.
Flush Trim: Once the wood finish is 100% dry, carefully snip all fiber ends flush against the tongue and groove ceiling surface.
Planning a custom wood-ceiling fiber optic installation or smart automation project in Southwest Florida? Contact Hidden Technology Inc. (1hti.com) at 239-244-1484 or web@1hti.com.